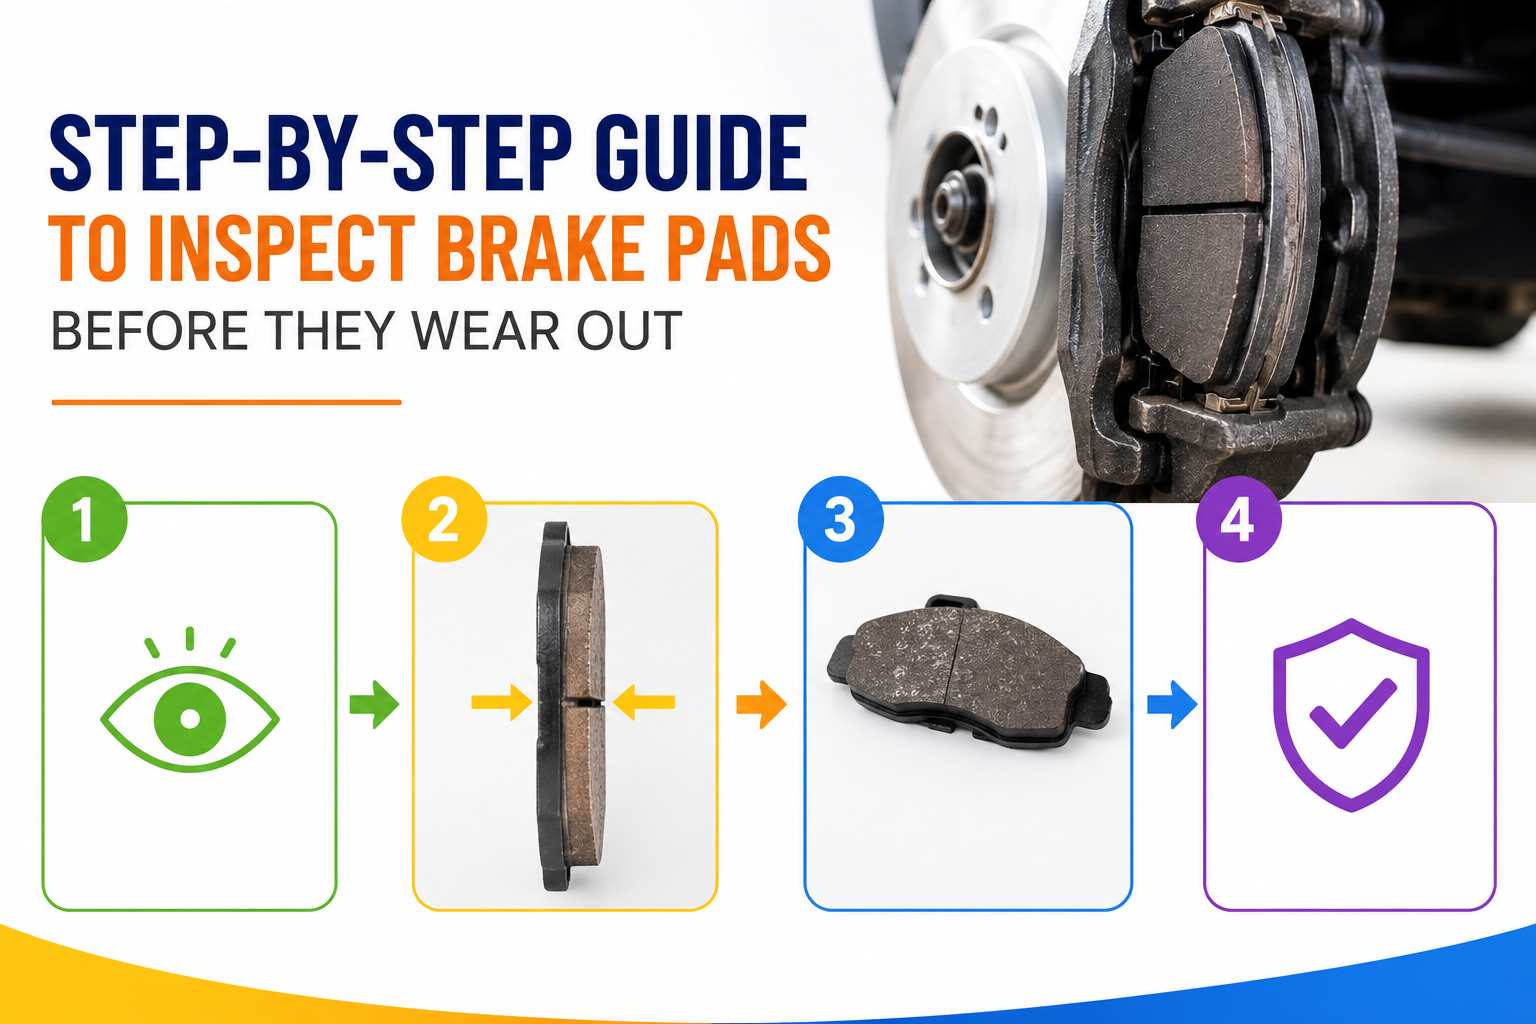
Your vehicle’s brakes are one of the most critical safety components. Worn-out brake pads can lead to longer stopping distances, unusual noises, or even complete brake failure. Regularly inspecting your brake pads helps ensure your safety on the road and saves money by preventing costly repairs. The best part is you don’t always need a mechanic to check them. With some simple tools and guidance, you can inspect your brake pads at home. This step-by-step guide will show you how to do it correctly.
Why Checking Brake Pads Is Essential
Brake pads are the friction material that presses against your brake rotors to stop your car. Over time, they wear down due to heat and friction. Ignoring brake pad maintenance can lead to serious problems.
Key reasons to inspect brake pads:
- Ensure safety: Worn brake pads reduce stopping power, increasing accident risk.
- Prevent rotor damage: Driving with worn pads can damage expensive brake rotors.
- Avoid noisy brakes: Squealing or grinding noises are signs your pads are worn.
- Save money: Regular inspection prevents major repairs and extends the life of your braking system.
Understanding the importance of brake pad inspection motivates regular maintenance, keeping you safe on the road.
Tools You Will Need
Before starting your inspection, gather the following tools. This ensures you can complete the check safely and efficiently.
Essential tools:
- Jack and jack stands: To lift the car safely.
- Lug wrench: For removing the wheels.
- Flashlight: Helps inspect hard-to-see areas.
- Tire iron (optional): For extra leverage on lug nuts.
- Gloves and rags: Protect your hands and clean dirt or debris.
Having the right tools makes the process safer and more effective.
Step 1: Prepare Your Car for Inspection
Safety is the priority when working with brakes. Follow these steps to prepare your car:
- Park on a level surface: Prevents accidents while lifting the vehicle.
- Engage the parking brake: Ensures the car doesn’t roll during inspection.
- Turn off the engine: Avoids accidental movement.
- Gather tools and materials: Keep everything close at hand for efficiency.
Proper preparation ensures a safe and accurate brake pad inspection.
Step 2: Remove the Wheel
To inspect brake pads, you’ll need access to the brake calliper and rotor. Removing the wheel is simple:
- Loosen lug nuts slightly: Do this before lifting the car to prevent the wheel from spinning.
- Lift the vehicle: Use a jack and secure it with jack stands for safety.
- Remove the lug nuts completely: then carefully remove the wheel and set it aside.
Tip: Always remove one wheel at a time to prevent mistakes and maintain stability.
Step 3: Locate the Brake Pads
Brake pads are housed inside the brake calliper, which clamps onto the brake rotor.
Steps to locate them:
- Look behind the brake rotor; the calliper is the part that squeezes the rotor.
- The brake pads are the friction material between the calliper and rotor.
- Most modern vehicles have wear indicators on the pads for easy identification.
Understanding the location and function of the brake pads makes inspection easier and more accurate.
Step 4: Inspect Brake Pad Thickness
Brake pad thickness is the main indicator of wear. Checking it regularly helps prevent problems before they occur.
- Visual inspection: Use a flashlight to examine the pad material between the calliper and the rotor.
- Measure thickness: A new pad is usually 8–12 mm thick; replace pads if they are less than 3 mm.
- Examine both inner and outer pads: Both sides should wear evenly. Uneven wear may indicate calliper problems.
Pro tip: If you notice metal contacting metal, the pads are critically worn and must be replaced immediately.
Step 5: Listen for Warning Sounds
Brake pads often signal wear before complete failure. Listen for these sounds:
- Squealing: Usually indicates that the wear indicator is contacting the rotor.
- Grinding: A metal-on-metal sound suggests the pads are completely worn.
- Vibrations: Pulsation when braking can mean uneven pad wear or rotor issues.
Recognising these warning sounds early can help prevent dangerous braking failures.
Step 6: Check for Pad Contamination
Contamination by grease, oil, or brake fluid can decrease the efficiency of brake pads.
How to check for contamination:
- Look for shiny, greasy surfaces on the pad.
- Inspect the rotor for any fluid leaks from the calliper.
- Clean minor contamination with brake cleaner or replace the pad if heavily soiled.
Clean pads ensure consistent braking performance and longer life.
Step 7: Inspect Brake Rotors
The condition of your brake rotors affects how well the pads perform. While inspecting pads, check the rotors for:
- Grooves or scoring: Deep lines can reduce braking efficiency.
- Warping: A warped rotor causes vibrations when braking.
- Rust spots: Surface rust is common, but extensive rust may require rotor replacement.
Addressing rotor issues early prevents uneven pad wear and improves overall braking.
Step 8: Reassemble and Test
Once the inspection is complete, it’s time to put everything back together:
- Reinstall the wheel: Align it properly and screw in lug nuts by hand first.
- Lower the car: Carefully remove jack stands and lower the vehicle.
- Tighten lug nuts: Use a criss-cross pattern to ensure even pressure.
- Test brakes: Gently press the brake pedal to ensure normal resistance and no unusual noises.
Testing ensures everything has been reassembled correctly and your brakes are ready for the road.
Tips for Maintaining Brake Pads
Preventing premature wear on brake pads saves time and money. Follow these tips:
- Avoid harsh braking: Smooth braking extends pad life.
- Don’t overload your car: Extra weight increases brake stress.
- Check pads regularly: Inspect at least every 10,000 kilometres, or as recommended.
- Replace in pairs: Always replace pads on both sides of an axle for balanced braking.
- Keep rotors clean: Dust and debris can accelerate pad wear.
Regular maintenance keeps your brakes reliable and your driving safe.
Common Mistakes to Avoid
Even minor mistakes during inspection or maintenance can lead to problems:
- Ignoring uneven wear: Can indicate calliper or rotor issues.
- Waiting too long to replace pads: Leads to rotor damage and costly repairs.
- Over-torquing lug nuts: Can damage wheels or rotors.
- Not testing brakes after inspection may result in missing issues before driving.
- Using low-quality replacement pads: Reduces braking efficiency and lifespan.
Being careful and following proper steps ensures effective and safe brake maintenance.
Conclusion
Inspecting brake pads at home is easier than many people think. With the right tools, preparation, and step-by-step guidance, you can identify wear, prevent damage, and maintain safe braking performance. Regular inspections not only protect your wallet from expensive repairs but also ensure your safety and that of others on the road. By understanding pad thickness, listening for warning sounds, checking for contamination, and maintaining your rotors, you take control of your car’s braking system without relying on a mechanic.
FAQs
1. How often should I inspect my brake pads?
Inspect brake pads at least every 10,000 km, or more frequently if you drive in heavy traffic or hilly areas or use your brakes aggressively.
2. How can I tell if brake pads are worn out?
Common signs include thin pad thickness (below 3 mm), squealing or grinding noises, vibrations when braking, or warning lights on the dashboard.
3. Can I replace brake pads myself?
Yes, with basic tools, safety precautions, and step-by-step guidance, replacing brake pads at home is possible. However, ensure you follow all safety steps and instructions.
4. Should I replace brake pads in pairs?
Always replace pads on both sides of the same axle. This ensures balanced braking and prevents uneven wear.
5. Can defective brake pads damage other parts?
Yes, worn-out pads can damage brake rotors, increase stopping distance, and lead to costly repairs or unsafe driving conditions

Written by Michael Reyes, part of the FallasDeAutos editorial team. Michael focuses on helping car owners understand and fix common vehicle problems with simple, practical guidance. His content covers diagnostics, maintenance, and troubleshooting, making complex automotive issues easier to understand. He aims to provide clear, reliable information that helps readers make informed decisions while encouraging consultation with qualified mechanics when needed.